
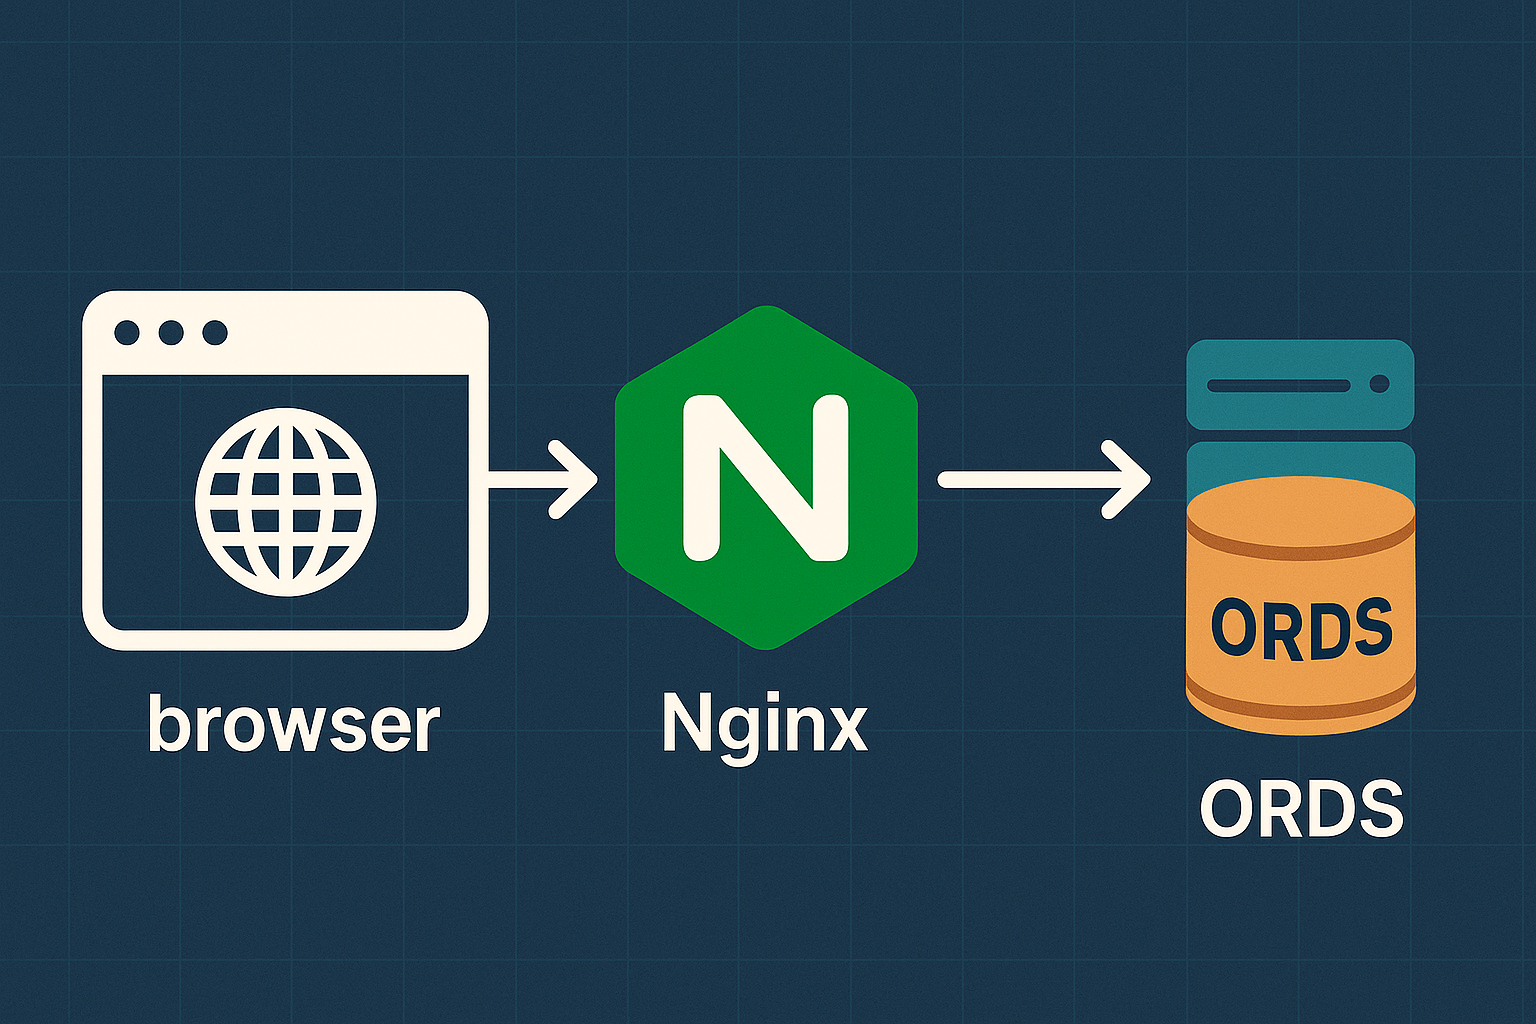

Looks like you’re interested in using nginx as a reverse proxy for ORDS (and Oracle APEX).
I can think of two reasons why you ended up here:
- You already know what a reverse proxy is, and you just need a little bit of code to copy
- You are a one-person band, and, on top of being a DBA and developer, you now need to learn some DevOps/sysadmin skills
If you already know what a proxy is, then skip to the next part.
A reverse proxy is a server that sits in front of other web/app servers to hide and/or secure the services behind it. It can work as a load balancer, force the use of HTTPS, and sometimes perform basic redirects based on portions of the URL to services running on different ports to 80 and 443. There are several ways you can accomplish this; if you’re on the cloud, most providers offer a solution for this as part of their infrastructure. If you have on-prem servers or just want to centralize all this into a piece of software, you can use Apache httpd or nginx.
Both solutions are open source, free of charge, and have been around for years. Either one you pick should do just fine. Also, most package managers are able to install them for you, so you don’t have to deal with downloads and binaries.
Installation
Now that we have a basic understanding, let’s jump right into it. To get started, install your software. If you are working on a CentOS/RedHat based Linux distribution, simply open up a terminal and type:
sudo yum install nginxAnd if you are based on a debian/ubuntu Linux distro, do:
sudo apt-get install nginxConfiguration
For further information about the install process, visit the official documentation.
Once you have it installed, it’s time to configure it. The main file where the configuration is stored is called nginx.conf. The location of this file depends on the OS. Most likely, you’re going to find it on /etc/nginx/ but it could very well be in /usr/local/nginx/conf or /usr/local/etc/nginx. Why is the file in different locations depending on the OS? Well, that’s a story for another time.
The configuration file is made of directives: simple single-line directives with a name and a value, ending with a semicolon. You can also group directives into contexts, surrounded by braces. Additionally, you may separate the configuration into different files and simply include them in the main config file using the “include” directive.
The basic structure of a configuration file is as follows:
user nobody; # the OS user the nginx worker runs as
events {
	# configuration of connection processing
}
http {
	# Configuration specific to HTTP and affecting all virtual servers
  server {
  	# configuration of an HTTP virtual server. You may have several,
  	# listening on different ports
    location /one {
      # configuration for processing URIs starting with '/one'
    }
    location /two {
      # configuration for processing URIs starting with '/two'
    }
  }
}

stream {
	# Configuration specific to TCP/UDP and affecting all virtual servers
    server {
    	# configuration of a TCP virtual server
    }
}
Finally, we get to the good part. Here’s an example of one of our proxy servers. The nginx.conf is quite short and simple; we used a separate file for the actual virtual server that handles the traffic.
user nginx;
worker_processes auto;
error_log /var/log/nginx/error.log;
pid /run/nginx.pid;

include /usr/share/nginx/modules/*.conf;
events {
	worker_connections 1024;
}
http {
	log_format main '$remote_addr - $remote_user [$time_local] "$request" '
      '$status $body_bytes_sent "$http_referer" '
      '"$http_user_agent" "$http_x_forwarded_for"';
	access_log /var/log/nginx/access.log main;
	sendfile on;
	tcp_nopush on;
	tcp_nodelay on;
	keepalive_timeout 65;
	types_hash_max_size 2048;
	include /etc/nginx/mime.types;
	default_type application/octet-stream;

	include /etc/nginx/conf.d/*.conf;
}
Some relevant entries here:
user nginx
By default, a user nginx is the owner of the files and the processes executed by the app server.
include /etc/nginx/conf.d/*.conf;
This means that as part of the startup process, nginx will go and read all the .conf files and evaluate their contents. This is important because that is how we configured our virtual server through a different file.
Let’s take a look at the contents of that file, piece by piece:
server {
    listen 80 default_server;
    listen [::]:80;
    return 301 https://$host$request_uri;
}
This one is easy; it will redirect any HTTP traffic (through the default port 80) to the exact same URL but over HTTPS. Why? Because everyone should be using a secure layer. Certificates are cheap, and you can even use Certbot (which we do), so there’s no reason not to do SSL nowadays.
Now everything below is contained inside a single server context. Please assume it goes inside server {}.
server_name myserver.com;
listen 443 ssl; # managed by Certbot
ssl_certificate /etc/letsencrypt/live/myserver.com/fullchain.pem; # managed by Certbot
ssl_certificate_key /etc/letsencrypt/live/myserver.com/privkey.pem; # managed by Certbot
include /etc/letsencrypt/options-ssl-nginx.conf; # managed by Certbot
ssl_dhparam /etc/letsencrypt/ssl-dhparams.pem; # managed by Certbot
This bit sets a name for the server. It should match the domain/subdomain you have mapped for that server. Next, we specify that we are listening on port 443, the default HTTPS port. Notice that small SSL directive as well. This tells nginx to use encryption on that port. The rest are just the locations of the keys and certificates necessary for HTTPS to work. How SSL and certificates work is a completely different subject and will perhaps be described in a separate blog post.
location /ords/ {
  proxy_pass http://localhost:8080/ords/;
  proxy_set_header Origin "";
  proxy_redirect off;
  proxy_set_header Host $host;
  proxy_set_header X-Real-IP $remote_addr;
  proxy_set_header X-Forwarded-For $proxy_add_x_forwarded_for;
  proxy_set_header X-Forwarded-Proto $scheme;
  proxy_connect_timeout 600;
  proxy_send_timeout 600;
  proxy_read_timeout 600;
  send_timeout 600;
}
On this part, we’re simply forwarding all the traffic that comes through port 443 on myserver.com/ords to the ORDS instance we have running in the same server on port 8080, hence the use of localhost. If you have ORDS on a different app server, which is quite possible if you don’t want it to compete for CPU/RAM, you just need to specify the IP address to forward the traffic to. It works exactly the same. This would probably be by a private IP address. One of the reasons you have a proxy server on the front is to hide different apps and services behind it. This way, you don’t need to allocate a public IP address for the ORDS server and don’t expose it to the outside world. The rest of the directives in this section is a bunch of directives to set headers and timeouts during the forwarding process.
location /i/ {
  proxy_pass http://localhost:8080/i/;
  proxy_set_header X-Forwarded-Host $host;
  proxy_set_header X-Real-IP $remote_addr;
  proxy_set_header X-Forwarded-For $proxy_add_x_forwarded_for;
}
For the images folder, usually referred to as /i/, you have two choices. Either let ORDS handle it as we did or let the proxy intercept the request and make reference to a directory mapped on the same server. For the first option, you have the answer. If you want to do the second, you can use the alias directive:
location /i/ {
	alias /u01/oracle/apex_22.1/images/;
}
The last thing that you may want to do is map the “root” route to the APEX builder. Simply rewrite the URL to the one we have seen thousands of times: “/ords/f?p=4550” like this:
location / {
	rewrite ^/(.*)$ /ords/f?p=4550 last;
}
Conclusion
Mission accomplished! You should be able to set up your own reverse proxy for ORDS using nginx. Remember: this is the most basic configuration. You can read up on the official nginx documentation to find out how to do things like fancy URLs, work with subdomains, forward traffic to other servers, and much more. It’s a powerful tool and yet easy to use. Good luck!
Hi. Thanks for this article, but we are still running into a problem. We are using ORDS in standalone mode. Following your instructions it works until we try to select a menu option from the application. Is there anything we need to configure in ORDS? I tried adding security.externalSessionTrustedOrigins "https://bstest.thisdomain.com" and security.httpsHeaderCheck "X-Forwarded-Proto: https", but what I get is the login window from my APEX app and then get the message my session is expired. If I remove them I get Mixed content page was loaded over HTTPS but requested an insecure XMLhttpRequest endpoint. Any suggestions would be very helpful.